Friday, December 31, 2010

Knooking PDF is ready

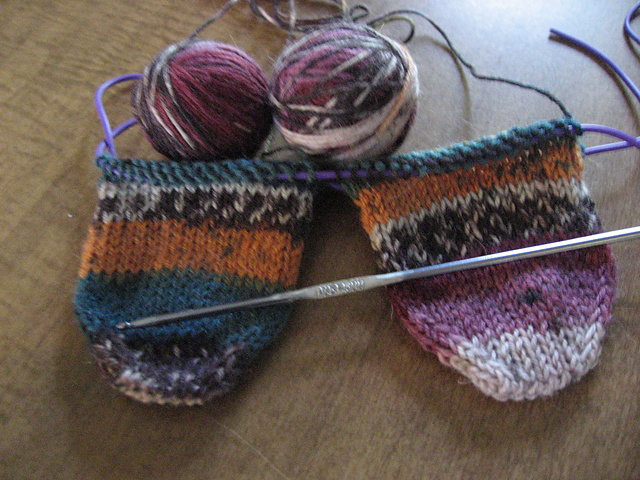
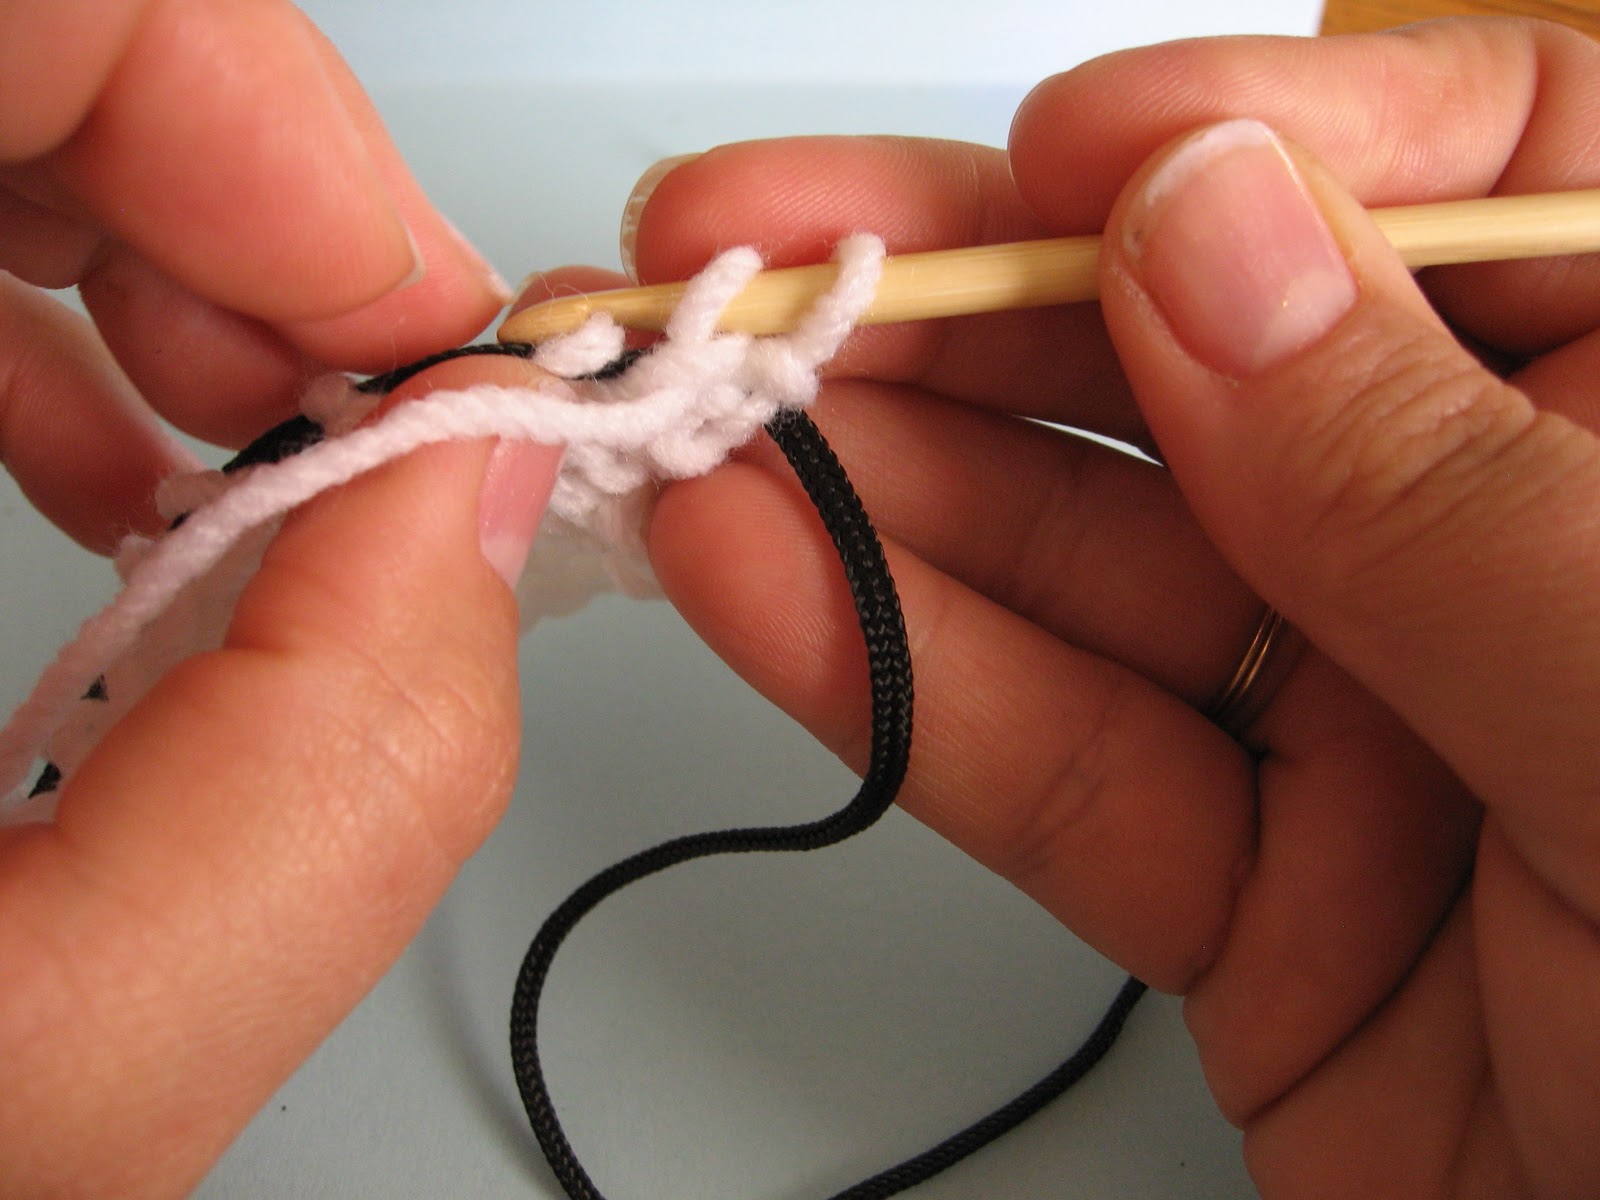
The " I'd Rather Be Knooking" PDF is ready. In this book is written and pictorial instructions on Casting on, knit, purl, increases, decreases, cables, knooking in the round, binding off and other useful information. Included are 2 easy pattern to get you started. More written and pictorial instruction then here.
You will need a knooking hook to perform stitches in book. If you have questions about hooks just ask.

You will recieve a 15 page PDF copy of book within 24 hours of cleared payment VIA email.
http://www.etsy.com/listing/65030853/knooking-knitting-with-a-crochet-hook

Tuesday, December 28, 2010

Crochet Rose Incorportated in Knooking


Rose Incorporated in Knooking

You can put your rose anywhere on your knooked fabric.
Step 1: Knook to one place before where you want rose.
Step 2: Pull hook through (gives you room to work)
Step 3: Chain 10 on next stitch
Step 4: Crochet Rose
Skip 1st chain, *3dc in next ch,slip stitch in next chain* * * continue to end.

Step 5: Roll rose petals to form rose

Step 6: Put your hook through center and somewhere in middle (stops rose from unrolling)
Yo pull working yarn through everything on your hook. Rose made continue knooking.
NOTE: If you want more petals 2 chain=1 petal

Sunday, December 26, 2010

Hybrid Projects

I have been playing around with knooking and crochet in one project.


Knooked Granny Square

By
Ronda Chapman
OfftheHookArt 2010
Supplies:
G Knooking Hook
Worst Yarn
8 Stitch Markers

Notes:
Advanced Pattern
You should know how to Knook (knitting with a crochet hook) or how to knit and crochet.
** Repeat
( ) All in one space
PM = Place Marker
Makes a square about 5 1/2 by 5 1/2

♥♥♥♥♥♥♥♥♥♥♥♥♥♥♥♥♥♥♥♥♥♥♥♥♥♥♥♥♥♥♥♥♥♥♥♥♥♥♥♥♥♥♥♥♥♥♥♥♥♥♥♥♥♥♥♥♥
Crochet
1) Using a Magic ring, hook on a Ch 3, dc,ch2 *2dc,ch2* ** three more times. Join with a slip stitch in ch 3.
2) Slip stitch over to the ch 2 space. (ch 3, dc, ch2, 2dc in ch2sp), *ch 1 (2dc,ch2,2dc in ch2sp)* **Repeat around. Slip stitch in back loop of ch 3.
Knooking AKA Knitting
3) Back loops only Knit to ch 2 sp (in ch2 sp-PM knit in1st ch,yo, PM knit in 2nd ch) *knit to next ch2 sp (PM knit in 1st ch,yo,PM knit in 2nd ch)* ** Repeat around.
4) Knit
5) *Knit to corner,PM,yo,knit,yo,PM* **around .
6) Knit
7) *knit to corner, PM,yo,knit,yo,knit,yo,knit,yo, PM* ** around.
8) Knit

Crochet
9) *Sc to corner,3sc in corner* ** around.
Fasten off and Weave ends and Block.


Knooked Hat Crown Down FREE PATTERN

KNOOKED HAT


By: Ronda Chapman OffTheHookArt
Starting at the crown and Knitting in the Round

Materials:
Size G Knook
4 ply worst yarn
Needle to weave ends
Read through directions once before starting would be helpful.
♥♥♥♥♥♥♥♥♥♥♥♥♥♥♥♥♥♥♥♥♥♥♥♥♥♥♥♥♥♥♥♥♥♥♥♥♥♥♥♥♥♥♥♥♥♥♥♥♥♥♥♥♥
Using Magic ring CO
1) Cast on 10
2) Knit around (10)
3) 2 knits in each knit (20)
4) Knit around (20)
5) Inc, knit 1 around (30)
6) Knit around (30)
7) Inc, Knit 2 around (40)
8) Knit around (40)
9) Inc, Knit 3 (50)
10) Knit around (50)
 Keep increasing until you have the circumference needed using same method above.
 Inc, adding 1 knit around, in increased row.


These are approximate everyone comes in different sizes
Preemie 40 st
Newborn 50 st
Toddler 60 st
Child 70 st
Women’s 80 st
Men’s 90 st
Then knit the same # of stitches in each row until you have the height you need.
Preemie height   5 to 5.5"
Newborn height = 5.5 to 6”
Toddler height = 8" 
Child height =8.5" 
Woman height = 11" 
Man height = 11"-11.5" 
5 rows = 1 inch.
Do ribbing for last 5 rows (Knit 1, Purl 1)
Bind off and weave ends.

Knooking Decrease

Decreasing


There are two I am going to show you


1st K2tog Right slant- Skip your first stitch put the hook in second stitch than put your hook in first (helpful to use your finger’s to pull first stitch onto hook), YO and draw yarn through both stitches.  It’s a little tricky but possible.
Skip 1st stitch

Insert into 2nd then pull 1st stitch onto hook.

YO and draw working yarn through loops.
 Knit2Together Rgith Slant Decrease


2nd SSK Left slant- Put your hook through two stitches, YO and draw yarn through both

 (SSK) Skip Skip Knit Left Slant Decrease

Thursday, December 23, 2010

Knooking Increase


Increasing

There are a few ways to increase. 

 1st Yarn over (YO) (Mostly used for lace.) Put your yarn over the hook returning yarn to back, knit in next stitch. Leaves a big hole


2nd   M1 - Pull up a loop in the horizontal strand in between stitches. To do this take the horizontal strand with you hook to the back of strand, twist it, YO and draw yarn through twisted loop. Depending which way you twist your loop will determine a left or right increase


Wednesday, December 22, 2010

Some of My work in Knooking

I have made so much more, as I find pictures I will post more. Let me clarify these are not my designs just projects I have knooked. I have put them here to show that easy to intermediate projects can be done with knooking


Tuesday, December 21, 2010

Purling in Knooking

Purling

Have your working yarn to the front. To purl insert your hook from the left of the stitch to right, Yarn Under your hook and push the yarn through the loop, Same as knit when you have two rows of life line in your stitches pull the first row of the life line out. Helps things move along faster if you use you thumb to help open up the stitches.
Use your thumb to open stitch
 Yarn Under and push working yarn through


Knitting with Knooking

Knit

Have your working yarn to the back. To knit just insert your hook into loop, YO and draw yarn through loop.  Do nothing else leave the stitch on the hook for now. Continue to the end of your row leaving all stitches on your hook. Now pull all of your stitches onto your life line. When you have two rows with life line in them, pull the first one out.


Casting On

Casting On (CO)

There are many methods of casting on in knitting.

1st Chain stitch number of stitches you need. (To make a chain, make a slip knot loop, yarn over hook draw yarn through loop, continue until you have number of chains you need.)  put your hook in 2nd chain from hook, YO and draw up a loop. Keep the loop on you hook and continue down your chain, drawing up a loop on each chain. When you get to the end of te chain pull all the of the loops onto your life line. CO complete.


 3rd Magic Ring CO- For starting in the center and working in the round (example: top down hats)  (similar to the magic ring in crochet) - Wrap the yarn around your fingers to form a loop, insert your hook through loop, YO working yarn draw yarn through, YO draw loop through loop on hook, (pull working yarn to tighten stitch, 1 stitch CO. Continue until you have the stitches needed. Pull the tail to close the hole, fasten and weave ends

Yo working yarn and draw through again.


Types of Fabrics

Types of Fabrics:
Stockinette Stitch Fabric To make stockinette stitch fabric you knit one row, purl the next row. Continue in this format. Stockinette fabric looks like a whole bunch of V’s and the fabric tends to roll


Garter Stitch Fabric
To make Garter Stitch fabric you knit all rows. See above
Garter Stitch fabric looks like ruffles. It lays flat and does not roll.

Ribbing
Knit and Purl stitches used in a uniformed pattern. Example: knit 1 purl 1 for an entire row/round for many rows/rounds.


Seed Stitch AKA Moss Stitch

1)      Knit one, Purl one for row/round
2)      Purl one, Knit one on next row/round. Continue with 1 and 2 as pattern says.

Common Knitting Terms

Common Knitting Terms:

CO – Cast On
BO – Bind Off
K – Knit
P – Purl
P2tog – Purl 2 together
K2tog – Knit 2 together (Right slant Decrease)
SSK – Slip Slip Knit (Left slant Decrease)
Inc – Increase
Dec – Decrease
Sk – Skip
PSSO – Pass slip stitch over
Yo – Yarn Over
Rep- Repeat
Pm – Place Marker
M1 – Make 1 (form of an Increase)